How To Structure a Project Based Learning Experience
Jun 13, 2021
As questions about project-based learning (PBL) continue to swirl, we turned to the experts to help answer our questions.
Experienced classroom teachers and school administrators Ross Cooper and Erin Murphy explain how to empower those intimidated by PBL to cry, “I can do this!” while at the same time providing added value for those who are already familiar with the process.
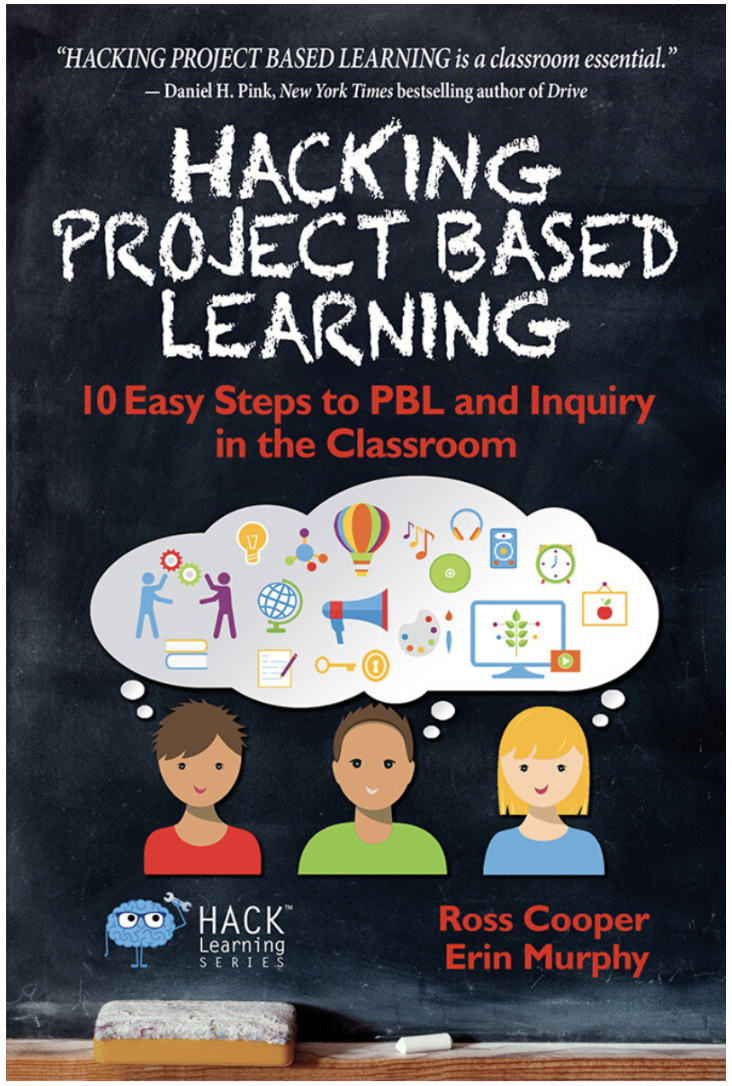
In their book, Hacking Project Based Learning, they demystify what PBL is all about so educators and students can easily follow to achieve success. In this blog post, they talk about their experience with PBL and how to structure that type of learning experience.
Not long ago, we facilitated three days of PBL professional learning for a group of about forty educators. Following a brief introduction, we asked everyone in the room, including administrators, to take about five minutes to write down their definition of project-based learning.
Once their definitions were recorded, participants shared their work in small groups, and then everyone in the room came together to share. As participants spoke, we completed a T-Chart: the left side was titled “Differences,” and the right side was titled “Commonalities.”
Afterward, we transitioned to discussing what we could conclude from the T-Chart and the activity as a whole. We realized that there was no shared definition of project-based learning.
This conclusion rang true for all educators in the room.
This type of confusion can certainly create a potential roadblock because for project-based learning or any other instructional shift to happen, the larger group needs a common definition.
This definition helps promote common language, collaboration, and a clear vision among those in-district.
At the same time, an expanded definition containing the components of project-based learning can serve as the floor or minimum expectation for what’s expected in classrooms, while allowing teachers to exercise their creativity to make it their own.
We soon uncovered was that most educators were already doing projects but were not necessarily doing project-based learning.
In retrospect, this shouldn’t have been so surprising, but since then, we have generally approached professional learning as if we’re collaborating with participants to transition from projects to project-based learning, as opposed to building something from nothing.
This approach is beneficial for two reasons.
First, we’re not throwing out past work. With so many instructional shifts, the message often comes out as, “Forget everything you were doing over the past years. That was wrong. This is right.” This approach disrespects the work that came before us and promotes initiative fatigue.
Second, collaborating makes the work easier because we’re meeting educators where they are and helping them build on top of something they’ve already been doing. It’s often (but not always) easier to create something from something, rather than something from nothing.
Let’s take a look at the differences between projects and project-based learning.
As you read, we encourage you to formulate two definitions of project-based learning: a one-sentence version, and an expanded version that can serve as the floor for what you expect of yourself in your classroom (teacher) or what’s expected across classrooms (administrator).
STEP 1: PLAN WITH THE END IN MIND
When planning a PBL unit, there are five potential starting points, none of which are mutually exclusive.
- Students. Find out what’s relevant to the students and use this as the basis for the project.
- Cool idea. Start with a cool idea that gets your students and/or you excited.
- A process. Build your project around a process, such as design thinking or the engineering cycle.
- The end in mind. Establish what you want your students’ main takeaways (what we refer to as High Impact Takeaways) to be, and plan backward from there.
- Academic standards. Flip through your academic standards, looking for inspiration, which can come from standards that promote learning that is hands-on, minds-on, and interdisciplinary.
No matter where we begin, our project should connect to the standards, unless students are engaged in something like Genius Hour (detailed in Chapter 8 of the book), or our organization isn’t held accountable for the standards.
While formulating ideas, you can also rely on the three tracks of project-based learning, which range from most restrictive to least restrictive. Think of these tracks as a gradual release of responsibility, starting with Product Track and ending with Open-Ended Track.
- Product Track. All students create a product(s) or contribute to an event, but there’s flexibility regarding how they do it so students can exercise their creativity to own the process.
- Problem Track. The project starts with a problem (usually a real-world problem) that either the teacher gives to students or students find on their own. This approach is often referred to as problem-based learning or challenge-based learning.
- Open-Ended Track. Present students with the project’s High Impact Takeaways, learning targets, and possibly an Umbrella Question, and ask them to demonstrate their knowledge however they’d like, with only a little more direction.
One track isn’t necessarily better than another.
For any given project, choose the track that fits best with your specific context. For example, even when you and/or your students are comfortable with the Open-Ended Track, it might be more appropriate to use the Product Track, depending on what you want to accomplish.
And yes, you might use more than one track during a PBL unit—students debating an issue (Product Track) in the midst of solving a problem (Problem Track)—but one track should drive the unit as a whole.

STEP 2: PLAN THE ASSESSMENTS
Most projects come with rubrics that are full of 4s, 3s, 2s, and 1s, and these numbers and all of their descriptors easily make our heads spin.
If rubrics can do this to us, imagine the negative impact they can have on our students!
Ultimately, you don’t want a complex tool that holds your students accountable, but rather a simple tool that helps them drive their own learning through self-assessment and peer assessment.
We designed the Progress Assessment Tool, which is a three-column “rubric” that we give to students toward the start of a project. Here’s what’s in the three columns.
Left column: The project’s learning targets.
You’re assessing students on what you want them to learn.
Notice that you’re not assessing them based on how well they follow the project’s directions, which only promotes compliance. In other words, if your assessment tool looks like project directions regurgitated in another format, you’ll want to adjust it.
Middle column: Each learning target’s success criteria.
If you want students to have flexibility regarding how they demonstrate their learning, success criteria should be medium agnostic. Refrain from mentioning specific products, technologies, or tasks.
The litmus test is to ask, “If teachers from other classrooms are teaching the same learning target in a different way, would they be able to use the same success criteria?”
Optionally, students can work with the teacher to construct success criteria, as opposed to the teacher simply giving it to them.
When possible, we accomplished this through the analysis of exemplars (e.g., students analyzing various narrative essay introductions in order to determine their quality features).
Right column: Where feedback is given in relation to each target.
Ideally, much of this feedback is self-assessment and peer assessment but, of course, teachers will help.
If possible, we strongly recommend creating and distributing a digital version of the Progress Assessment Tool, potentially through Google Docs or Google Classroom.
Housing this resource on a server or in the cloud makes it available to everyone at all times. Because it’s digital, the cells/boxes will conveniently expand as we type into them.
For individual projects, every student receives a copy.
For group projects, think about what you’re going to group assess versus individually assess. Sometimes, group projects will contain a combination of the two. Each group gets a Progress Assessment Tool and so does each individual.
On the group copy, give feedback on the group learning targets. On the individual copy, give feedback on the individual learning targets. Meanwhile, if you’re able to individually assess students on all targets, every student gets their own Progress Assessment Tool.
If every target will be group-assessed, do one copy per group. Also, while we don’t advocate for grading the project itself, if a grade is necessary, try to avoid group grades. In these instances, refrain from using a group Progress Assessment Tool.
STEP 3: PLAN THE TEACHING AND LEARNING
This step is all about reflection and publishing. Of course, the two aren’t mutually exclusive, as students can reflect while publishing through blog posts, websites, videos, and social media.
Reflection
We’ve seen teachers haphazardly tack reflection onto the end of a project because they were told that it’s an essential element of project-based learning and therefore needs to happen.
And yes, we’ve been guilty of this as well.
This disconnect occurs when we fail to realize that reflection can help students demonstrate high-order thinking, while possibly sharing their learning—perhaps when we dedicate five minutes at the end of class for students to share their progress.
Reflection can take place wherever, whenever. It can also help us revise and refine our work. When we consider why we have students reflect during project-based learning, it falls into one of two categories.
The first category is non-evaluative, as it doesn’t connect to specific learning targets; you’re trying to get students to think critically about their work. Use prompts, if necessary, and think about fading out those prompts to promote independence (think gradual release).
Here are some examples:
- What additional questions do you have about this topic?
- What strengths can you identify in your work?
- What are you most proud of?
Publishing
Much like reflection, publishing doesn’t just come at the end of a project, as it should mimic as closely as possible what we do as adults.
Here are three ways in which you can use publishing as part of project-based learning. These ways are not mutually exclusive.
Example 1. Use publishing to document the process. Have students continuously film their work in progress, and every Friday, ask them to publish a more polished video that documents their process (which helps them to obtain feedback and reflect on their work).
Example 2. Use publishing as the project’s final product. If students are raising awareness for an endangered animal, like the bald eagle, ask them to publish an original song toward the end of the project and then promote it via social media to raise awareness.
Example 3. Use publishing for sharing. If students are using the school’s outdoor classroom to grow vegetables and explore the idea of farm to table, ask them to create presentations to share what they’ve learned with other students, families, and outside experts, possibly at a community exhibition or other event.
Don't Over Plan
Finally, we caution you against overplanning in isolation.
We recently did a podcast with Elisabeth Bostwick, an instructional coach, and author. During the podcast, she talked about the myth—but reality—of educators sitting around a giant table, “perfectly planning” their PBL unit, delivering it to students, and then hoping for the best.
Not surprisingly, this scene resembles our early days of project-based learning. The problem: When we take this approach to planning, we’re leaving out our most valuable stakeholders, our students.
Don’t hesitate to give your students a voice during the learning and planning process. If you’re transitioning to project-based learning, communicate to students (and possibly families) how your instruction is changing and why, while continuously asking for their feedback.
This way, everyone is moving together toward project-based learning, as opposed to it being something that is “done to students.”


